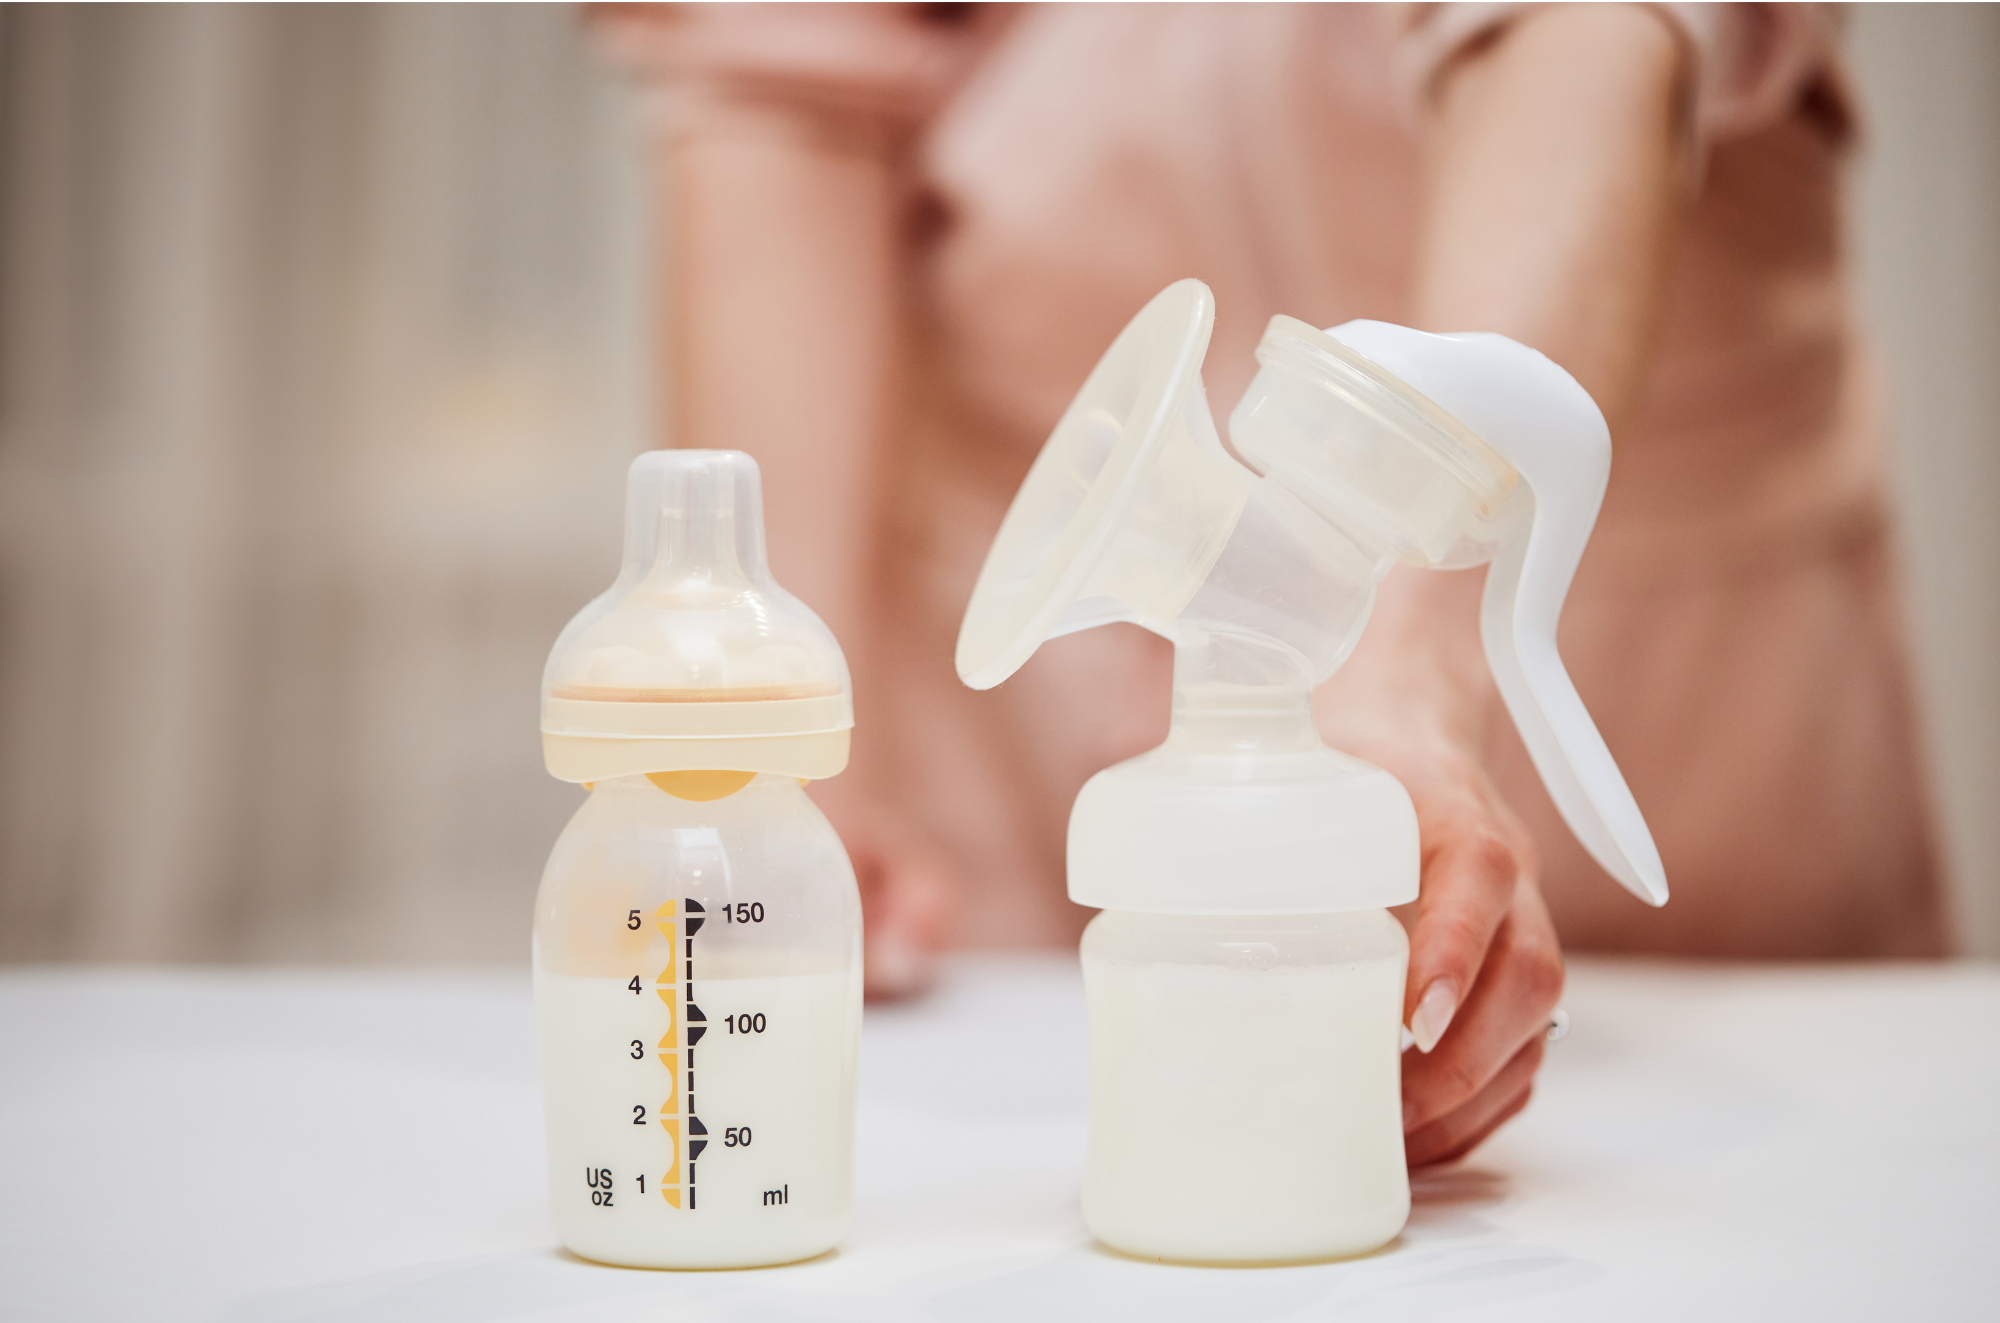
Pumping (especially exclusively pumping) can induce a lot of fear for many women. I know it did for me! My first son lost a ton of weight the first week after birth due to an undiagnosed lip tie and we struggled for the first few months. So, until that was resolved I had to pump a lot and use syringes and tubes with a nipple shield to feed him. It was definitely not the journey to breastfeeding that I thought I would have, but I was so grateful there was an alternative to help me feed my son while we solved some of his issues.
Don’t be intimidated by pumping. It may seem like a lot of work, but once you have all the supplies you need and get a routine down you will find it can be much less daunting than you initially thought.
Here are some of the most commonly asked questions as well as the supplies you will need to get yourself off to a successful start pumping!
Disclaimer: This post may contain affiliate links. If purchases are made through these links, I may receive a small commission at no additional cost to you. Thank you for supporting this site.
Reasons to Pump
Baby cannot latch —This was my issue when my son was first born. Due to his lip and tongue tie he struggled to latch and feeding him was extremely painful. Pumping allowed me to give my nipples a break to heal so I could teach my baby to latch properly. While only temporary, pumping helped me keep my supply up to continue feeding my son once my breastfeeding journey resumed.
Exclusively pumping—For other circumstances some babies are never able to latch properly to breastfeed. Exclusively pumping is an option for moms who want to continue to give their baby breastmilk but are unable to or choose not to breastfeed.
Returning to work—I started back into the working mom life with the nightshift part time when my son was 12 weeks old. My husband was able to defrost my supply in the freezer to keep my chucky babe well fed throughout the night when I was gone. I also pumped several times at work to keep my supply up. This usually more than replaced what my son ate while I was gone and kept my stash well stocked for months. I worked hard to maintain a pumping schedule that kept my supply going until right up to his first birthday.
Having a supply built up—I try not to be a complete negative nelly but sometimes I really can be! I was always worried about something happening to me where I would not be able to feed my baby. While this is obviously a rare occurrence, I felt secure in knowing I had a supply built up for my baby in the event I wasn’t around. This became super helpful for when I wanted to get out of the house or leave my baby with family, they could feed him a bottle and I could get some much needed me time!
Supplies needed for Pumping
Pump
Obviously the most important part of your pumping journey is your breast pump. Most insurance companies will give you a breast pump for free! I personally used the website Edgepark which made it so easy, and they sent it straight to my house. You should call your insurance provider to check your coverage and where you can get yours from!
Through my insurance I got this Spectra pump and I absolutely love it! In addition, I wanted a hands-free pump to use while I was back at work, so I bought the Mom Cozy pump separately. Both have been great pumps and I would recommend them to anyone.
Everyone is different so you may have to try a few different pumps to find the right one for you!
Pump Parts
Each pump will come with its own set of parts. This should include flanges, tubing, and bottles unique to your specific pump. The set will likely come with multiple flanges so make sure you use the right size for you!
Pumping Bra
This is definitely an extra but a good pumping bra is oh so worth it! Especially if you are planning on pumping on the go as a working mom. These pumping bras hold the flanges in place for you making a wall pump hands free! I was able to get a few extra things done while pumping and made it so much easier.
Bottles
Even if you are planning on breastfeeding most of the time, you will still need bottles for your baby. Now this was the tricky part for us. My son took Dr. Browns bottles right from the start as a newborn with no issue. I really liked these bottles; however, they have a lot of parts to clean so be prepared!
I’ll get into my breastfeeding story another time, but I got lazy with bottle for a few weeks when he was about 3 months old. When I started preparing to go back to work suddenly, he wouldn’t take bottles anymore. When I say we tried every bottle in the book to get him to take one we certainly did!
Bottles I ended up loving (and he did too) were Comotomo and Nuk! These were the closest nipples to the breast that we found and eventually he didn’t mind the difference. Also, because they had a wider mouth it made cleaning so much easier! Every baby is different so you will just have to try a few and see what works for you.
Bottle Warming
Along with the bottles, chances are your baby will prefer your milk warmed to the same temperature as if they were breastfeeding. Bottle warmers are a lifesaver! We used this one from Dr Browns simply because it matched our original bottles and it worked great for us.
In pinch on the go I also used a mug with hot water and set the bag of breast milk in that. It took longer but did the job well enough. Eventually I invested in this portable milk warmer that was an absolute gamer changer! So worth the money in my opinion.
Remember breastmilk cannot be warmed in the microwave, whether it is in a bottle or a bag. It will heat unevenly and could burn your baby’s mouth.
Breastmilk Storage
To store your milk, you will need breastmilk bags. There are many different styles of bags so find the ones that worked best for you. I used the simple flat lay bags, but there are kind that can hook right up to your pump or to a bottle to feed your baby with.
I used the brick method when storing my breastmilk and found it to be the most compact and efficient way. Just lay your bag flat in the freezer until frozen. I used an empty baby wipe box to make this easier. And then place them upright in a gallon freezer bag until it is full. Then I placed one more on top and sealed the bag. Usually if I froze my bag perfectly, I could fit 14 4oz bags of breastmilk in one brick. These bricks stacked great in my large freezer and made it easy to store in my kitchen freezer when it was time for a new bag. Just make sure you order your milk from oldest to newest and label the entire brick.
I had the most success freezing my milk in 4 oz bags as explained above, but you can choose to do however you want. I recommend freezing in increments of 3-6 oz. Or you can try these Milkies trays which freezer your milk in 1 ounce sticks. This would work great to use in recipes or to help top off a bottle.

Cleaning Your Pump Supplies
It is extremely important to keep your pumping supplies clean to protect your baby. There are different opinions on how often you need to clean your pump parts, but personally chose to wash them after each pump. This can be time consuming and honestly just annoying.
Scrub each pump part with soap and warm water using a mild dish soap. I just used my bottle cleaning brush and that worked great to get in the small corners of the pieces. Also be sure to take each piece apart when cleaning and allow them to thoroughly dry before putting them all back together.
Also, you are going to want to sanitize your parts every so often. You can boil the hard plastic pieces or place them in the bags or bottle sterilizing systems you use to clean your bottles. It is not recommended you put the part in the dishwasher because of residue build up.
Depending on how often you plan of pumping, it may be helpful to purchase an extra set of pump parts to make sure you always have a clean set available when the time
When to Start Pumping
Now this is a big “it depends” answer. There are two different common opinions on when to start pumping.
- Start right away to boost milk supply. This is most likely for moms with babies who have complications making breastfeeding difficult. This could include jaundice, prematurity, or a poor latch. If this is your circumstance you should start a pattern of pumping when the baby eats, which should be about every 2-3 hours.
- Start pumping a few weeks after your baby is born once your milk supply has regulated. This prevents the possibility of engorgement caused by oversupply.
Everyone is different, so if you are wanting to begin pumping talk with your provider or a lactation consultant and discuss what would be best for you.
.
How Often Should I Pump
This again depends on your goals for pumping. Are you wanting to exclusively pump and only bottle feed your baby? You should be pumping as often as possible, but at least as often as your baby is eating for the first month or two. This is likely going to be every 2-3 hours during the day, and possibly stretch to every 2-4 hours at night. While this can be difficult, after a while of exclusively pumping your body will regulate and you can pump less often but produce enough for your baby.
If you are wanting to pump to build a stash, pump as often as you would like. I was an over supplier so pumped a few times a day mainly to relieve pressure between feeding sessions. Once my supply regulated more, I made a goal to pump 2-3 times during the day and once at night. When my son turned 3 months the only session that was necessary for comfort was in the middle of the night. This allowed me to store 800 ounces before I returned to work after maternity leave.
If you are pumping just to relieve pressure pump only when you are feeling uncomfortable and only enough for relief. Pumping to empty will encourage your body to produce more milk and continue the cycle of over production.
Related: How to Increase Milk Supply
How Long Should I Pump?
This is going to vary person to person. Some women can pump for 10 minutes and completely empty their breasts. Others may take 30 minutes or more. You will have to see how your body responds and what works best for you. To start, I found it was best to pump for as long as my baby typically nursed. That way it encouraged my body to increase its supply.
What if I Hardly Got Any Milk?
Don’t stress. When you first start out you may not get much milk at all and that is completely normal. Pumping essentially “tricks” your body into believing it needs to produce more to meet the demands of your baby.
By pumping, you increase the demand and therefore the supply. Keep at it and you will slowly start to see more and more milk in your bottles.
There is so much information about pumping out there it can get very overwhelming. Hopefully this helped cover some of the basics to get you started. Breastfeeding and pumping are not easy so make sure to give yourself some grace and be patient. It will all be worth it in the end.
Have more questions about pumping and breastfeeding success? Check out Breastfeeding Tips for New Moms


